
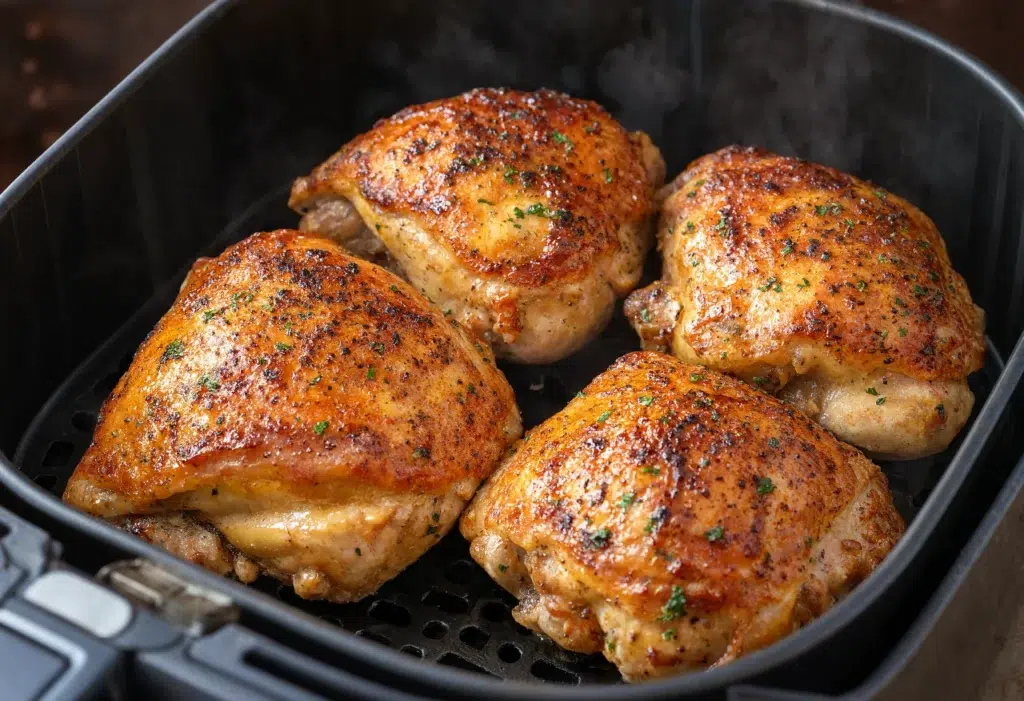
For about a year, my air fryer chicken breast came out the same way every single time: pale on the outside, chalky in the middle, and dry enough that my husband started quietly reaching for the ranch dressing before he’d even cut into it.
Table of Contents
Introduction
I followed recipe after recipe, all promising “juicy” results, and kept ending up with the same rubbery texture. The problem wasn’t the air fryer. It was that I was cooking straight through to 165°F without accounting for carryover heat, and I was using breasts that were nearly twice as thick on one end as the other. Once I fixed both of those things, everything changed.
Why This Recipe Works
- For anyone who owns an air fryer and has mostly given up on chicken breast because it always turns out dry
- Useful on weeknights when you want lean protein on the table in under 25 minutes with almost no cleanup
- Built around pull temperature and a rest period, not just a timer, so it adapts to different breast sizes and air fryer models
- Works whether you’re meal-prepping for the week or cooking just two breasts for tonight’s dinner
Ingredients (With Context)
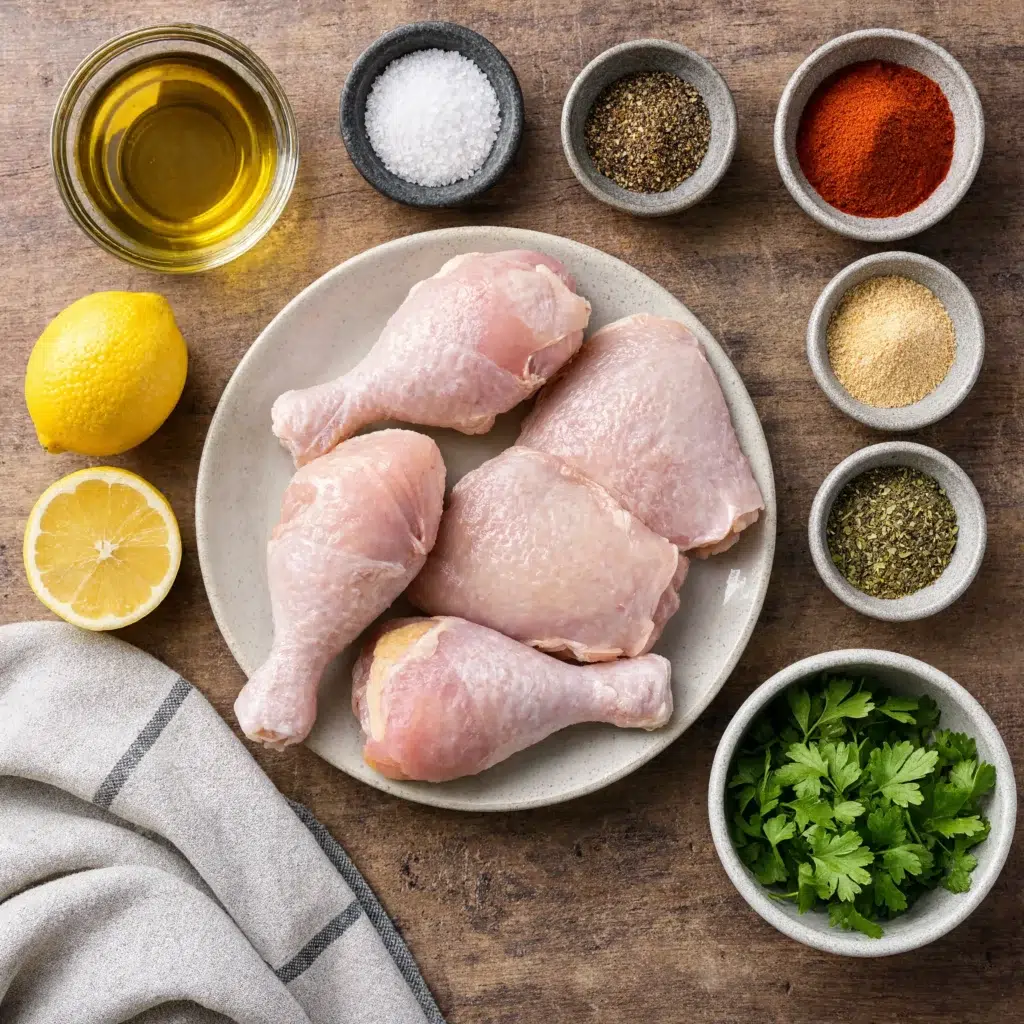
Boneless, skinless chicken breasts (2, 6–8 oz each): thickness matters more than weight here. If one end is noticeably thinner than the other, pound it to an even thickness with a meat mallet or the bottom of a heavy pan first, or the thin end will dry out before the thick end reaches a safe temperature.
Olive oil (1 tablespoon): helps the seasoning stick and encourages browning. Avocado oil works too if you want a slightly higher smoke point. I’ve stopped spraying nonstick spray directly into the basket, since the aerosol propellant can wear on the basket coating over time.
Kosher salt (1 teaspoon): dry-brining with salt 20–30 minutes before cooking made a bigger difference for me than any marinade I tried. Table salt works too, but use about half as much since it’s denser.
Garlic powder, smoked paprika, black pepper (½ tsp each): a basic blend, but you can swap in taco seasoning, lemon-pepper, or Cajun seasoning depending on what you’re serving it with.
Optional: 1 tsp brown sugar – a small amount helps browning without making the chicken taste sweet. I leave it out during Whole30 weeks.
Common mistake: seasoning only the top of the chicken. Salt and spices belong on all sides, or the inside stays bland while the outside carries all the flavor.
Step-by-Step Instructions
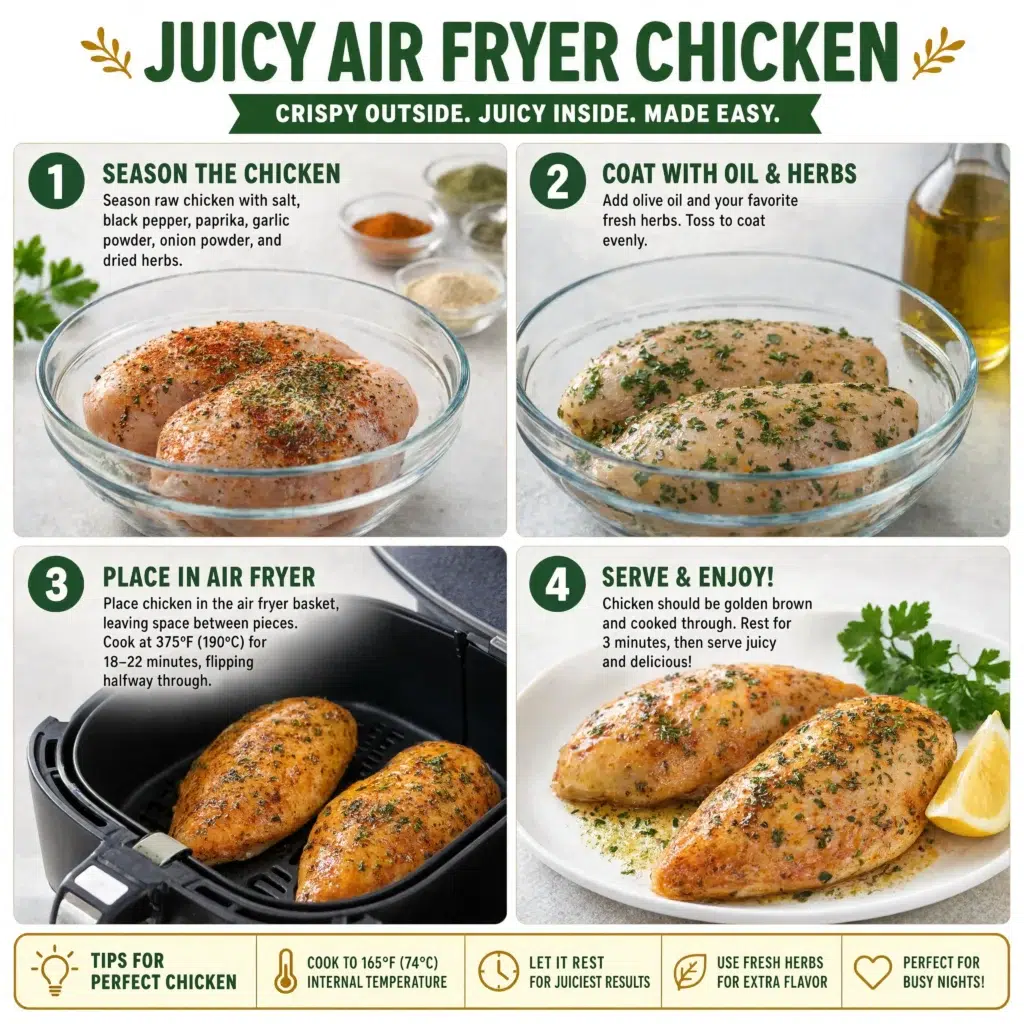
1. Pat the chicken completely dry with paper towels. Why it matters: any surface moisture steams instead of browning, so drying it first is what actually gets you golden color instead of pale, boiled-looking chicken.
2. Even out the thickness by pounding the thicker end until the whole piece is roughly uniform. Look for a breast that’s about ¾ inch thick edge to edge.
3. Dry brine by salting on all sides and letting the chicken sit at room temperature for 20–30 minutes before cooking. What to look for: the surface looks slightly damp as the salt first draws moisture out, then reabsorbs it right before you cook.
4. Coat with oil, then the spice blend on all sides.
5. Preheat the air fryer to 375°F for about 4 minutes. Skipping this step is one of the most common reasons air fryer chicken cooks unevenly.
6. Arrange in a single layer with space between pieces not touching. Cook 10 minutes, then flip.
7. Keep cooking in 2–3 minute increments, checking the internal temperature at the thickest part with an instant-read thermometer starting around the 16-minute mark.
8. Pull at 160°F, not 165°F. Carryover cooking residual heat already inside the meat will carry it up to a safe 165°F as it rests, in line with the USDA’s food safety guidance for air fryers.
9. Rest, loosely tented with foil, for 5 minutes before slicing. Look for juices pooling lightly on the board rather than flooding it a sign the fibers had time to reabsorb moisture instead of releasing it all at once when you cut in.
Common Mistakes I Made & How I Fixed Them
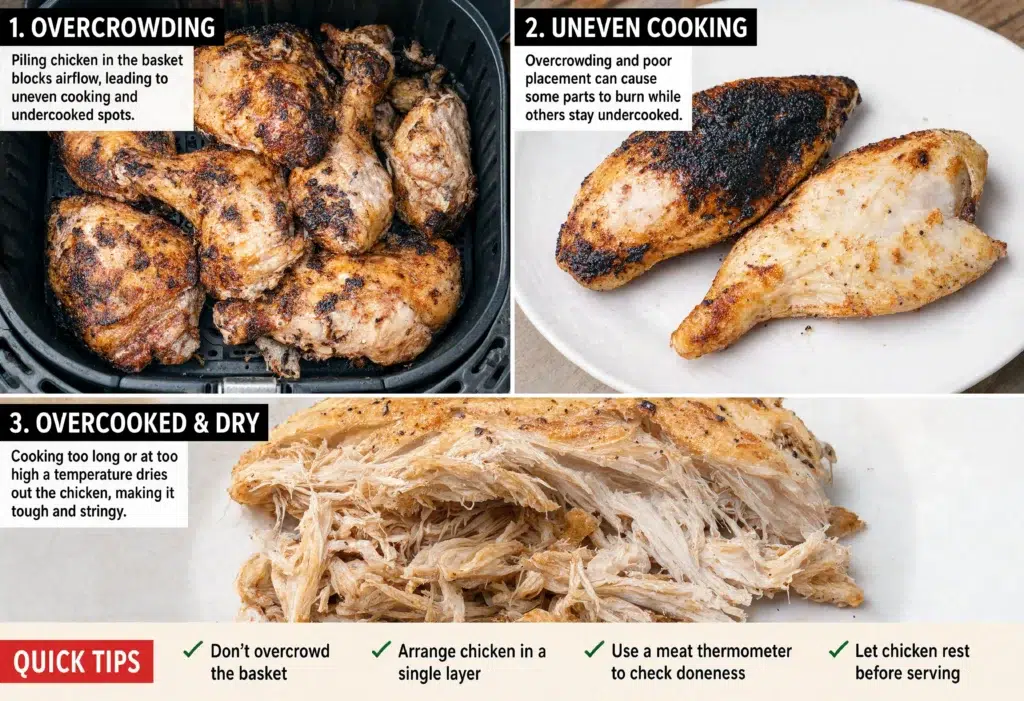
Pulling at 165°F instead of 160°F. For a long time I followed the “cook to 165°F” instruction literally and pulled the chicken the second the thermometer hit that number. It was always slightly dry. What I changed: I now pull at 160°F and let carryover heat finish the job during the rest this lines up with thermal guides that track exactly when protein fibers tighten and squeeze out moisture, which happens increasingly past that point.
Skipping the pound-to-even-thickness step. My first dozen attempts used breasts straight from the package thick on one end, thin on the other. The thin end was always dry by the time the thick end reached a safe temperature. Now I always even them out first.
Overcrowding the basket to save time. I used to stack breasts to cook a bigger batch in one round. Air couldn’t circulate properly, so the chicken steamed instead of browning, and the total cooking time actually went up, not down. I cook in batches now, even though it takes longer overall.
Variations I Actually Tried
- Wet brine (30 minutes in a simple saltwater solution) noticeably juicier, but it requires planning ahead. I save this for weekends, not weeknights.
- Buttermilk marinade overnight tender and flavorful, but the natural sugars in buttermilk mean it browns faster, so I start checking the temperature about 2 minutes earlier to avoid scorching the spice coating.
- Higher heat (400°F) for a crispier exterior it works, but the window between done and overcooked shrinks, so I watch it more closely.
- Skipping the oil entirely the spice coating turned dusty and didn’t stick well. Not worth it for the small calorie savings.
Storage, Reheating & Real-Life Use
Cooked chicken keeps in an airtight container in the fridge for 3–4 days. It holds up best sliced right before eating rather than sliced ahead of time, since more exposed surface area dries out faster in storage.
To reheat, I use the air fryer at 350°F for about 4–5 minutes, checking that it’s back up to 165°F a gentler heat than the original cook, since reheating dries meat out faster than cooking it the first time does. Microwaving works in a pinch, but the texture suffers; if I have to microwave, I add a splash of broth and cover it loosely. Reheated chicken is a little firmer than fresh no matter the method that’s just the nature of a second heating, not a sign you did something wrong.
Who This Recipe Is / Is Not For
This is for anyone who wants a fast, low-cleanup way to get lean protein on the table especially useful for meal-prep lunches or a quick weeknight dinner. It’s not the recipe to reach for if you want deeply crispy, breaded chicken; for that texture, a dredge-and-fry or oven-baked panko approach will get you closer. And if you consistently prefer dark meat for how forgiving it is when slightly overcooked, you may have better luck starting with crispy baked chicken thighs instead, since thighs carry more fat and are harder to dry out.
Final Thoughts
I make this most weeks now, usually on Sunday, to have sliced or shredded chicken ready for salads and wraps through Wednesday.
The next thing I want to test is whether a short 15-minute wet brine gets me most of the way to the juiciness of a full 30-minute brine, since that’s the step I’m most likely to skip when I’m short on time. If you’re working with a whole frozen breast instead of a thawed one, I’ve covered the timing adjustments in more detail in my other foolproof air fryer chicken breast guide. Some nights the air fryer basket is already full of something else, so I’ve also written up a stovetop method for that. And if you want more ideas beyond chicken, you can browse our full collection of air fryer recipes.
Recipe Card Summary
| Prep time | 10 minutes (plus a 20–30 minute dry brine) |
| Cook time | 16–20 minutes |
| Servings | 2 |
| Calories | Approximately 220 kcal per 6-oz breast (varies by size) |