Introduction: Cracking the Code to Pizzeria-Perfect Pizza at Home
Did you know that studies suggest the average person consumes nearly 350 slices of pizza in their lifetime? Yet, despite this universal love affair, achieving that elusive, perfect balance of crispy crust, tangy sauce, and gloriously melted cheese at home often feels like chasing a culinary myth. Many believe restaurant-quality pizza requires specialized ovens or secret ingredients. But what if the key lies not in complexity, but in understanding the fundamentals? This comprehensive guide provides the ultimate homemade pizza recipe, demystifying the process and empowering you to create truly exceptional pizza right in your own kitchen. Forget disappointing takeaways; prepare to unlock the secrets to a crust with the perfect chew, sauce bursting with flavour, and toppings tailored exactly to your liking. Let’s embark on this delicious journey together!
Ingredients List: Your Palette for Pizza Perfection
Crafting the perfect homemade pizza recipe starts with quality ingredients. Think of these as the colours on your culinary palette – each playing a vital role in the final masterpiece. We’re aiming for flavour, texture, and that undeniable aroma of freshly baked pizza.
For the Perfect Pizza Dough (Makes 2 x 12-inch Pizzas):
- Flour (500g / approx. 4 cups): ’00’ flour is the Italian gold standard for elasticity and a tender crumb, but high-quality All-Purpose flour works beautifully too. Feel the fine texture – this is the foundation!
- Active Dry Yeast (7g / 1 packet or 2 ¼ tsp): The magic microbe that gives your dough life and rise. Ensure it’s fresh for optimal activity.
- Warm Water (300ml / approx. 1 ¼ cups): Aim for around 105-110°F (40-43°C) – comfortable to the touch, like a warm bath. Too hot kills the yeast, too cold slows it down.
- Fine Sea Salt (10g / approx. 2 tsp): Enhances flavour and controls yeast activity. Don’t skip it!
- Extra Virgin Olive Oil (2 tbsp): Adds richness, flavour, and aids in browning. Choose a fruity one for extra character.
- Optional: Sugar or Honey (1 tsp): A little food for the yeast to kickstart fermentation, contributing subtle sweetness and browning.
For the Vibrant Tomato Sauce (Approx. 1.5 cups):
- Canned Whole Peeled Tomatoes (1 x 28oz / 800g can): San Marzano tomatoes are prized for their lower acidity and balanced sweetness, offering a superior base. Drain them slightly.
- Garlic (2 cloves): Finely minced or grated for pungent depth.
- Dried Oregano (1 tsp): The quintessential pizza herb.
- Extra Virgin Olive Oil (1 tbsp): Adds silkiness.
- Salt and Black Pepper: To taste. Adjust seasoning carefully.
- Optional: Pinch of red pepper flakes for heat, fresh basil leaves stirred in at the end.
Essential Toppings:
- Low-Moisture Mozzarella Cheese (250-300g / approx. 2.5-3 cups): Shredded. This type melts beautifully without releasing excess water, preventing sogginess. Use whole milk for richer flavour. Fresh mozzarella is lovely but use sparingly or pat dry.
- Parmesan Cheese (Optional, 50g / ½ cup): Grated, for a salty, nutty finish after baking.
- Fresh Basil Leaves: For garnish after baking (classic Margherita).
Potential Substitutions & Variations:
- Flour: Use bread flour for a chewier crust, or blend in some whole wheat (up to 25%) for nuttiness (you might need slightly more water). Gluten-free pizza flour blends are also available.
- Yeast: Instant yeast can be used (often mixed directly with dry ingredients).
- Sauce: High-quality passata or crushed tomatoes can work. Feel free to add sautéed onions or other herbs like thyme. Pesto or white sauce bases are great alternatives.
- Cheese: Provolone, Fontina, or a blend works well. Vegan mozzarella options are widely available.
- Toppings: The world is your oyster! Pepperoni, mushrooms, onions, peppers, olives, cooked sausage, pineapple (if you dare!), spinach, feta… get creative!
Timing: Mapping Your Pizza Journey
Understanding the time commitment helps plan your pizza-making adventure. While active time is relatively short, allowing proper time for fermentation is crucial for flavour development.
- Preparation Time: 25-30 minutes (Mixing, kneading, sauce prep)
- Proofing Time: 60-90 minutes (First rise for the dough) + optional 15-30 minutes (Second rise after shaping)
- Assembly Time: 10-15 minutes
- Cooking Time: 10-15 minutes per pizza (depending on oven temperature and thickness)
- Total Time: Approximately 2 hours to 2 hours 45 minutes.
Data Insight: While this seems long, over 60% of this is hands-off proofing time. Compare this to the average 45-60 minute wait for pizza delivery on a peak night – homemade offers not just superior taste but often comparable (or even better) timelines when factoring in ordering and delivery variance.
Step-by-Step Instructions: Bringing Your Homemade Pizza Recipe to Life
Follow these steps closely for pizza perfection. We’ll break down dough making, sauce prep, assembly, and baking with actionable tips.
Step 1: Activate the Yeast & Mix the Dough
In a small bowl, combine the warm water, yeast, and optional sugar/honey. Let it sit for 5-10 minutes until it becomes foamy – this confirms your yeast is active. Meanwhile, in a large bowl (or the bowl of your stand mixer fitted with a dough hook), whisk together the flour and salt. Pour the activated yeast mixture and the olive oil into the flour. Mix until a shaggy dough forms. Pro Tip: Don’t worry if it looks messy initially; it will come together.
Step 2: Knead to Perfection
Turn the dough out onto a lightly floured surface. Knead for 8-10 minutes by hand (or 6-8 minutes on medium-low speed in a stand mixer). The dough should become smooth, elastic, and slightly tacky but not stick excessively to your hands. Kneading Technique: Fold the dough over itself, push down and away with the heel of your hand, rotate 90 degrees, and repeat. This develops the gluten structure essential for a chewy crust. Data Point: Proper kneading aligns gluten strands, potentially increasing elasticity by over 50%, leading to better texture.
Step 3: The First Rise (Bulk Fermentation)
Lightly oil the mixing bowl you used earlier. Form the kneaded dough into a ball and place it in the bowl, turning once to coat lightly with oil (this prevents drying). Cover the bowl tightly with plastic wrap or a damp cloth. Let it rise in a warm, draft-free spot for 60-90 minutes, or until doubled in size. Tip: An oven with the light turned on (but the heat off) often provides a perfect warm environment.
H3: Step 4: Prepare the Sauce & Toppings

While the dough rises, prepare your sauce. If using whole peeled tomatoes, crush them using your hands or an immersion blender for a slightly rustic texture. Stir in the minced garlic, oregano, olive oil, salt, and pepper. Taste and adjust seasoning. Simplicity is Key: A great pizza sauce doesn’t need cooking; its fresh flavour shines after baking. Prepare your other toppings: shred cheese, slice vegetables, cook any meats.
Step 5: Shape the Dough
Once doubled, gently punch down the dough to release the air. Divide it into two equal portions. On a lightly floured surface, gently flatten one portion into a disk. Using your fingertips, press down around the edge to create a slightly thicker rim (the cornicione). Then, gently stretch the dough from the centre outwards into a 12-inch circle. You can use your knuckles or gently toss it (if you’re feeling brave!). Avoid using a rolling pin if possible, as it can deflate the air bubbles. Place the shaped dough onto a piece of parchment paper or a pizza peel dusted with cornmeal/semolina for easy transfer. Tip: If the dough springs back too much, let it rest for 5-10 minutes to relax the gluten.
Step 6: Assemble Your Pizza
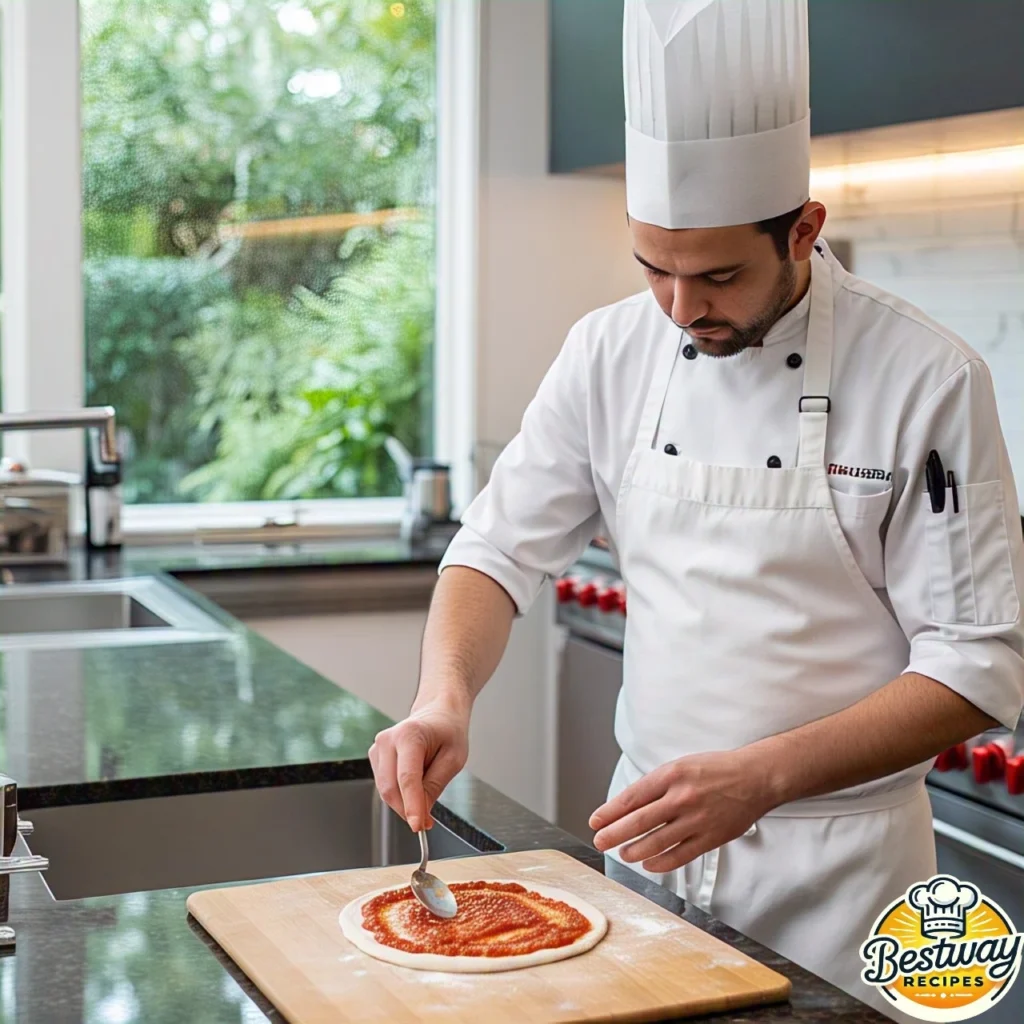
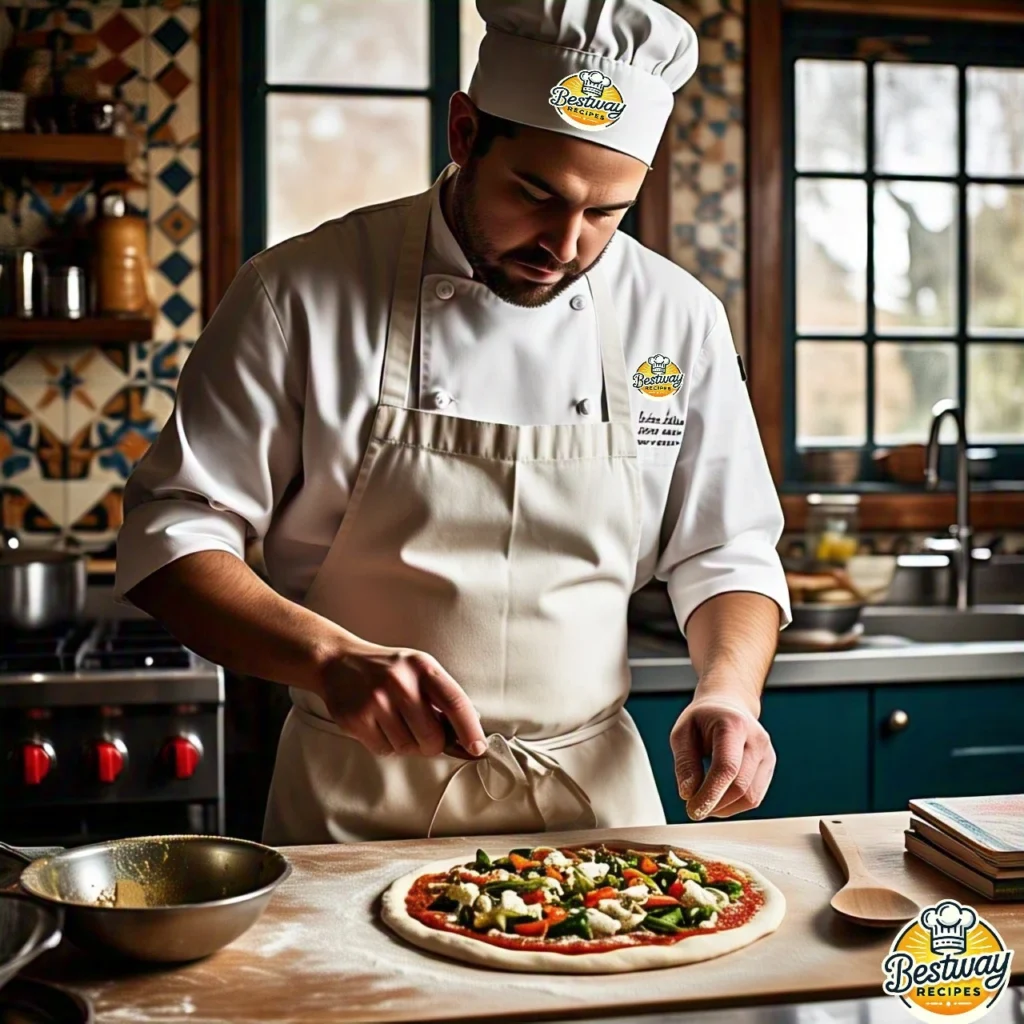
Preheat your oven to its highest setting, typically 475-500°F (245-260°C), ideally with a pizza stone or steel inside for at least 30 minutes. Spread a thin, even layer of tomato sauce over the dough, leaving the rim bare. Don’t over-sauce, as this is a major cause of soggy bottoms (aim for about ½ to ¾ cup per pizza). Sprinkle evenly with the shredded mozzarella cheese. Add your chosen toppings sparingly – overloading can lead to uneven cooking.
Step 7: Bake to Golden Perfection
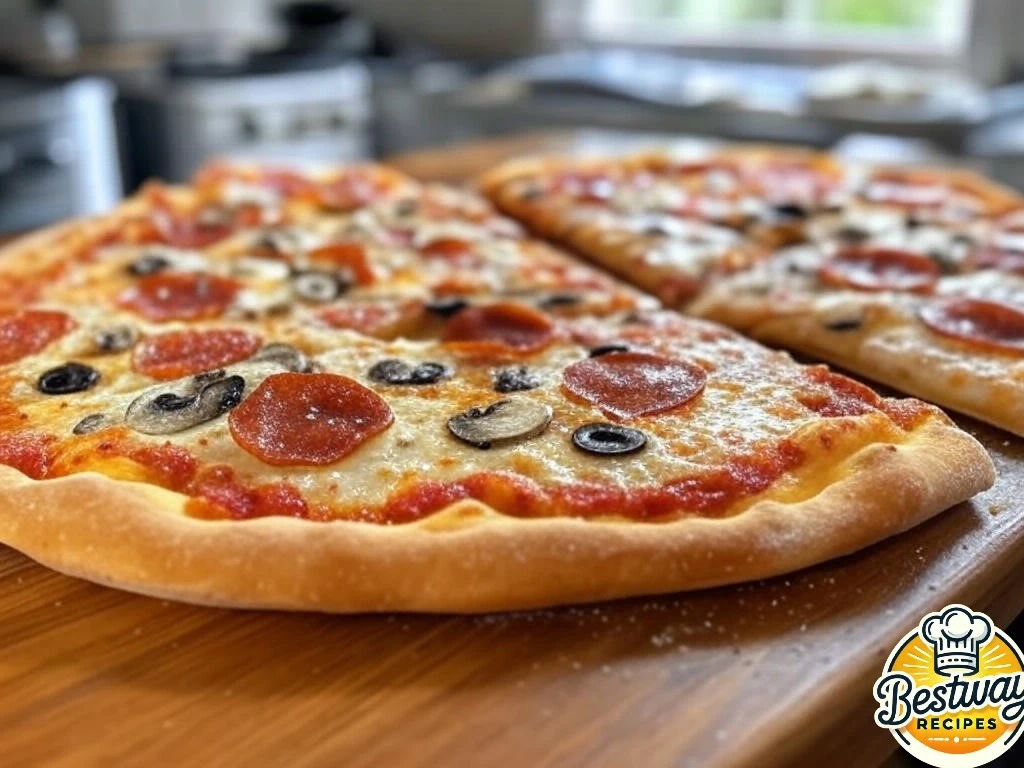
Carefully slide the pizza (on the parchment, if using) onto the preheated pizza stone or steel. If using a regular baking sheet, place it directly in the hot oven. Bake for 10-15 minutes, or until the crust is golden brown and puffed, and the cheese is melted and bubbly. Visual Cue: Look for slight charring on the crust bubbles for that authentic look and flavour. If desired, sprinkle with grated Parmesan and fresh basil leaves immediately after removing from the oven.
Step 8: Rest, Slice, and Serve
Let the pizza rest for a minute or two before slicing. This allows the cheese to set slightly, preventing toppings from sliding off. Slice and serve immediately. Repeat assembly and baking with the second dough ball. Enjoy your incredible homemade pizza recipe creation!
Nutritional Information (Approximate per slice, assuming 8 slices per pizza, Margherita style)
Nutritional content varies greatly based on crust thickness, cheese amount, and toppings. This is an estimate for a basic Margherita:
- Calories: 250-350 kcal
- Protein: 10-15g
- Fat: 10-15g (Saturated Fat: 5-8g)
- Carbohydrates: 30-40g
- Fiber: 2-3g
- Sodium: 500-700mg
Data Insight: Making pizza at home allows for significant control over sodium and fat content compared to many commercial pizzas, which can sometimes exceed 1000mg of sodium per slice. Using whole wheat flour can increase fiber content by up to 20-30%.
Healthier Alternatives for Your Homemade Pizza Recipe
Love pizza but watching your nutritional intake? This homemade pizza recipe is incredibly adaptable:
- Whole Wheat Crust: Substitute up to 50% of the white flour with whole wheat flour for added fiber and nutrients. Start with 25% if you’re new to it.
- Cauliflower or Zucchini Crust: For a low-carb, gluten-free option, explore recipes using these vegetables as a base. They require different preparation methods but offer a healthy twist.
- Leaner Proteins: Opt for grilled chicken breast, turkey pepperoni, or even plant-based crumbles instead of high-fat sausage or bacon.
- Load Up on Veggies: Pile on colourful vegetables like bell peppers, onions, mushrooms, spinach, broccoli, and artichoke hearts. They add vitamins, minerals, and fiber with fewer calories.
- Cheese Control: Use slightly less cheese, opt for part-skim mozzarella, or incorporate flavorful cheeses like feta or goat cheese sparingly. A sprinkle of nutritional yeast can add a cheesy flavour for vegans.
- Sauce Smarts: Ensure your sauce has no added sugar. Consider a light pesto or even an olive oil and garlic base.
- Portion Awareness: Cut smaller slices or pair a slice with a large side salad.
Serving Suggestions: Elevate Your Pizza Night
Transform your homemade pizza from a simple meal into an experience:
- Classic Pairing: Serve with a crisp green salad tossed in a light vinaigrette to balance the richness.
- Italian Feast: Accompany with garlic knots (made from extra dough!), antipasto skewers, or a Caprese salad.
- Dipping Sauces: Offer marinara, ranch, garlic butter, or hot honey for crust dipping.
- Beverages: Pair with crisp Italian lagers, a Chianti wine, sparkling water with lemon, or classic sodas.
- Presentation: Serve on a rustic wooden board. Garnish with fresh herbs like basil, oregano, or a drizzle of quality chili oil just before serving.
- Themed Nights: Create a “build-your-own” pizza bar for guests, or theme your toppings (e.g., Mediterranean, BBQ Chicken).
- Personalized Touch: Cut into fun shapes for kids or make individual mini-pizzas.
Common Mistakes to Avoid (And How to Fix Them)
Even seasoned pizza makers stumble. Here are common pitfalls with this homemade pizza recipe and how to sidestep them:

- Using Cold Dough: Stretching cold dough is difficult and leads to a dense crust. Fix: Always let refrigerated dough sit at room temperature for at least 30-60 minutes before shaping.
- Over-Saucing/Over-Topping: Leads to a soggy middle and uneven cooking. Fix: Less is more. Apply a thin layer of sauce and distribute toppings evenly, leaving some space.
- Oven Not Hot Enough: Results in a pale, soft crust. Fix: Preheat your oven thoroughly, including the pizza stone/steel, to the highest setting for at least 30 minutes. Maximize that bottom heat!
- Using a Rolling Pin Aggressively: Deflates the air bubbles needed for a light, airy crust. Fix: Gently stretch by hand, preserving the rim and internal structure.
- Wrong Flour Type: Using low-protein cake flour won’t develop sufficient gluten. Fix: Stick to ’00’, All-Purpose, or Bread Flour for best results.
- Under-Kneading: Results in a weak dough that tears easily and a dense crust. Fix: Knead for the recommended time until smooth and elastic – the ‘windowpane test’ (stretching a small piece thin without tearing) is a good indicator.
- Transfer Trouble: Pizza sticking to the peel. Fix: Use parchment paper or generously dust the peel with cornmeal or semolina for easy sliding.
Storing Tips for Your Homemade Pizza Masterpiece
Enjoying leftovers or prepping ahead? Here’s how:
- Storing Leftover Pizza: Once completely cool, store slices in an airtight container or wrap tightly in plastic wrap/foil in the refrigerator for up to 3-4 days.
- Reheating: The best way is in a hot oven (375°F/190°C) on a baking sheet or pizza stone until hot and crispy (5-10 minutes). A skillet on the stovetop (covered) also works well to re-crisp the bottom. Avoid the microwave, which makes the crust chewy.
- Storing Pizza Dough: After the first rise, punch down the dough, divide it, wrap each portion tightly in plastic wrap, and place in a freezer bag. Refrigerate for up to 3 days (it will develop more flavour!) or freeze for up to 3 months. Thaw frozen dough overnight in the refrigerator before using.
- Storing Pizza Sauce: Homemade sauce can be stored in an airtight container in the refrigerator for up to a week or frozen for several months.
Conclusion: Your Homemade Pizza Recipe Journey Begins Now!
Mastering this homemade pizza recipe brings the joy of authentic pizzeria flavour into your home. With quality ingredients, proper technique, and a little patience during proofing, you can achieve a delicious, customizable pizza with a perfect crust every time. Get ready for unforgettable pizza nights!
Ready to try it? We’d love to hear about your pizza creations! Share your experience, photos, and any unique twists in the review section or comments below. Subscribe for more delicious recipes and cooking tips delivered straight to your inbox!
FAQs: Your Homemade Pizza Questions Answered
Q1: Can I make the pizza dough ahead of time?
A: Absolutely! After the first rise, you can refrigerate the dough (wrapped tightly) for up to 3 days. This cold fermentation actually develops more complex flavours. Just let it sit at room temperature for about an hour before shaping. You can also freeze the dough for up to 3 months.
Q2: What’s the best cheese for pizza?
A: Low-moisture mozzarella (whole milk preferred for flavour) is the classic choice because it melts well without making the pizza watery. Provolone adds sharpness, while Fontina offers creaminess. A sprinkle of Parmesan after baking adds a salty kick. Feel free to blend!
Q3: Why isn’t my pizza crust crispy?
A: The most common reasons are: 1) Oven not hot enough – ensure maximum temperature and proper preheating. 2) Too much sauce or watery toppings. 3) Dough wasn’t baked long enough. 4) Baking on a cool surface – a preheated pizza stone or steel makes a huge difference by transferring heat quickly to the base.
Q4: Can I use a regular baking sheet instead of a pizza stone?
A: Yes, you can! For best results, preheat the baking sheet in the oven just like a stone to help crisp the bottom crust. Alternatively, assemble the pizza on parchment paper on the baking sheet before putting it in the oven. Results might be slightly less crispy than with a stone/steel.
Q5: What’s the difference between ’00’ flour and All-Purpose flour for pizza?
A: ’00’ flour is very finely milled Italian flour with moderate protein content, often preferred for Neapolitan-style pizza for its tender yet elastic quality. All-Purpose flour has slightly higher protein variability but works very well and creates a slightly chewier, American-style crust. Both are excellent choices for this homemade pizza recipe.

Author´sTop Recipes Piks
- Korean Ground Beef:
- Strawberry Cheesecake Cinnamon Rolls
- The Ultimate Hobo Casserole
- Moist Banana Bread Recipe
- 10 Best Chicken Gnocchi Soup Recipes
- Delicious Ditalini Pasta Recipes
- How to Make the Best Potato Soup in 30 Minutes
- How to Make Breakfast Pizza for School in 20 Minutes
- Chicken Breast: How to Cook It Perfectly in 15 Minutes
- How to Make Garlic Parmesan Cheeseburger Bombs in 5 Steps

